Here are the photos from the repair of four of the eight awning-style thermopane windows in our motorcoach. The work was performed at Suncoast Designers, Inc. in Hudson, Florida. Great people to work with and they have a correct process for doing this work.
-
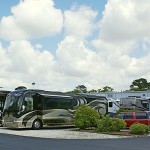
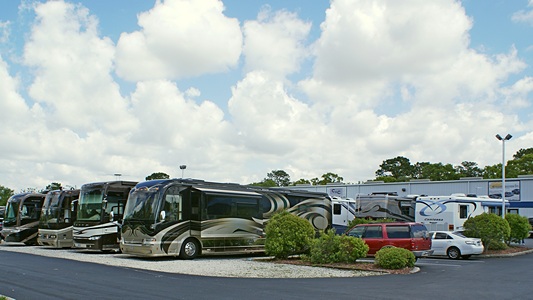
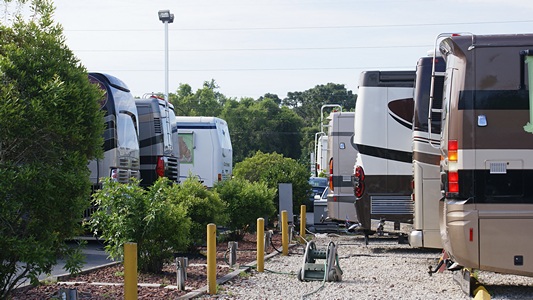
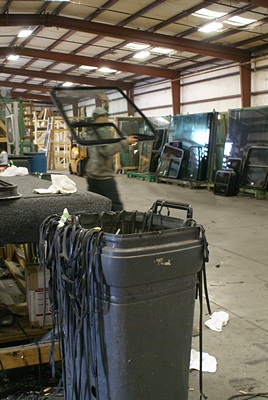
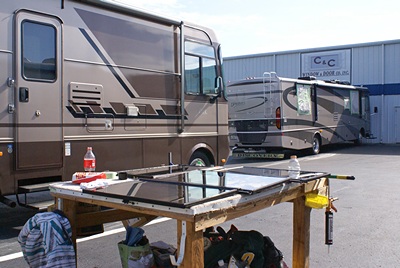
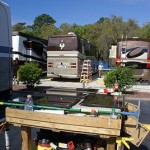
- A view of part of the RV parking area at suncoast Designers in Hudson, FL.
-

- The RV sites are all back-in with water and 50A electric service down the center.
-
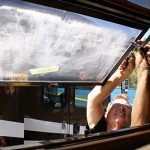
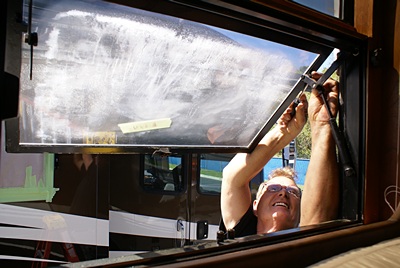
- Jim removes one of the lift arm pins on the DS front window.
-
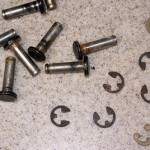
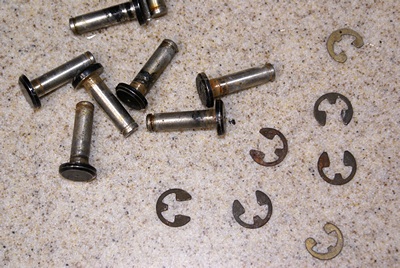
- The pins and retaining clips that secure the window lift arms to each end of the window frames.
-
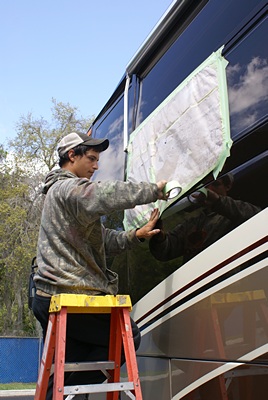
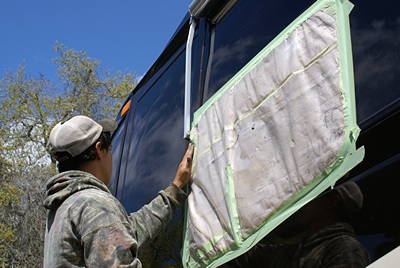
- Kevin covering the DS front window opening with plastic wrapped cardboard.
-
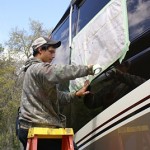
- Kevin securing the window opening cover with tape.
-
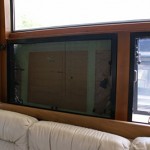
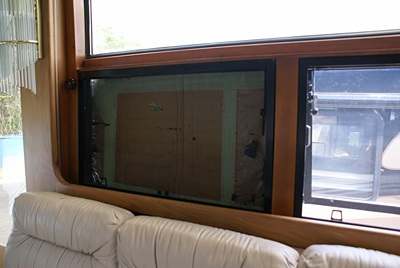
- PS front window opening covered with plastic wrapped cardboard.
-
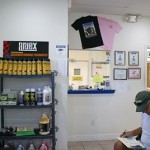
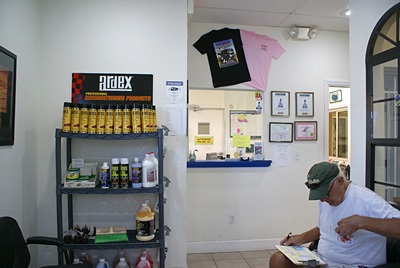
- Suncoast Designers, Inc. lobby.
-
- Fritz (R) explains the repair process to Linda (C) and another customer (L).
-
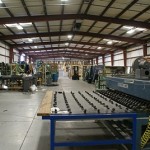
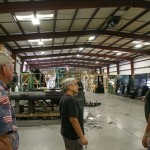
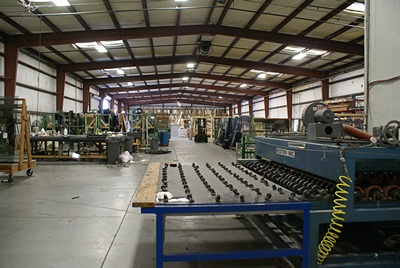
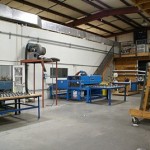
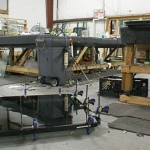
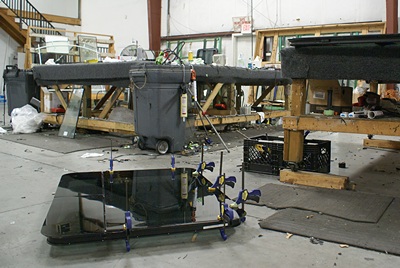
- Suncoast Designers plant looking north. Machine lower right heats and presses thermopane sandwich after reassembly.
-
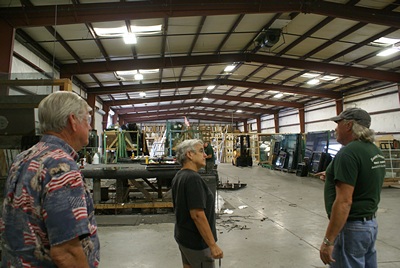
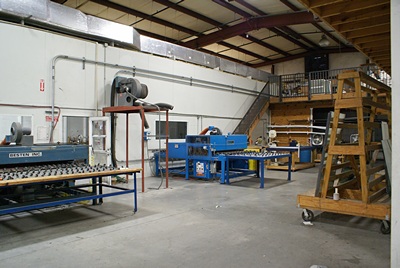
- View of Suncoast Designers plant looking southeast. Behind the wall is the clean assembly room. Blue machines are roller press ovens.
-
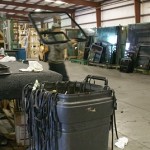
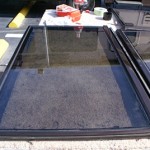
- There is a lot of caulk and adhesive used in RV windows. Suncoast Designers has to cut it all out and clean it off.
-
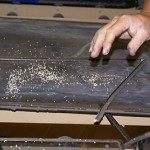
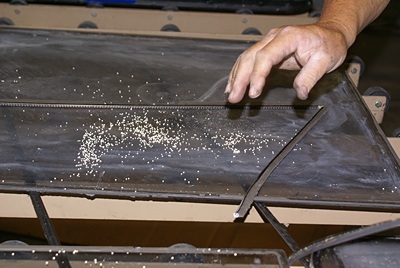
- Fritz showed us the desiccant beads that some OEM RV window manufacturers use. They don’t work very well.
-
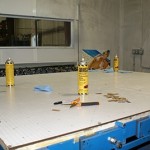
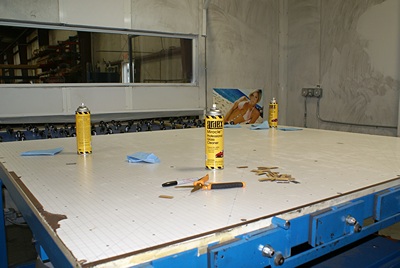
- The “clean room” table. The glass panes come off a roller washer behind the door (L) and get reassembled on this table.
-

- Rolls of different sizes of “swiggle” used to glaze two panes of glass into a thermopane sandwich. (Trade names are micro-seal and dura-seal.)

-
- A large RV thermopane window clamped into its frame.
-
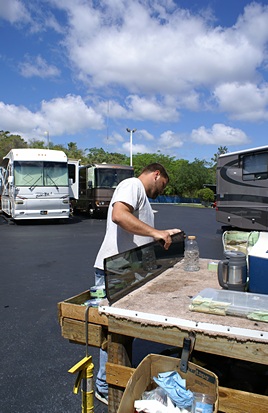
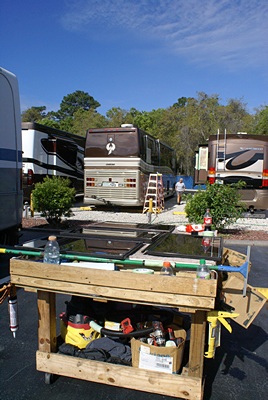
- Final prep of our four awning windows before they were re-installed in the coach.
-
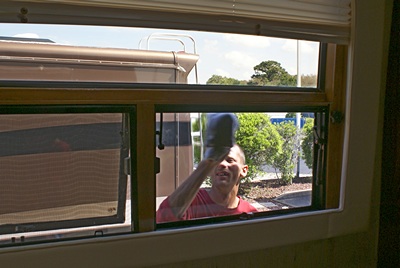
- One of our repaired awning windows; nice and clear.

-
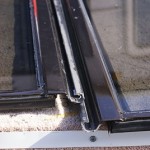
- Awning-style window frame free hinge detail.

-
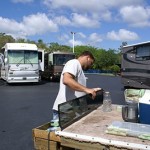
- Joe cleaning up a small RV window before re-installing it This window was not from our coach.
-
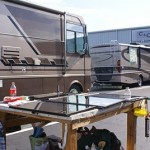
- Our four awning windows in final prep for re-installation with our Prevost H3-40 in the background.
-

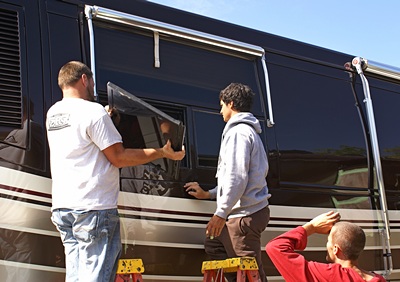
- Joe (L) and Kevin (C) install the PS rear window while Matt (R) watches.
-
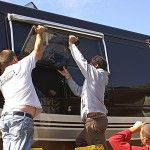
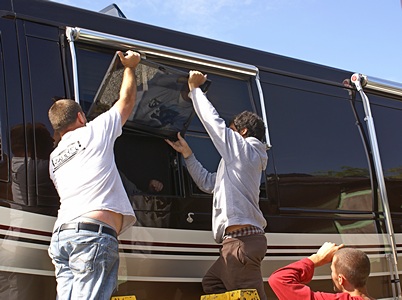
- Joe (L)and Kevin (C) swing the window up high to engage the hinge.
-

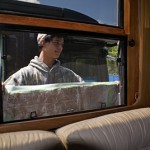
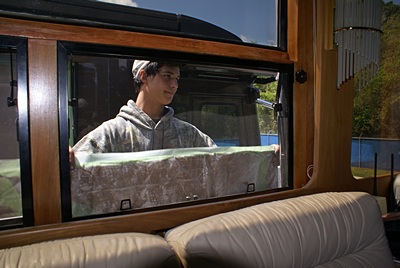
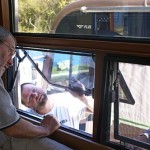
- Joe (L), Bruce (C, inside),and Kevin (R) check the fit on the PS rear window.
-
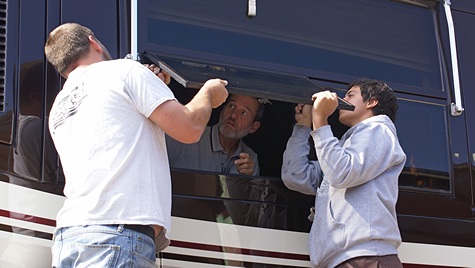
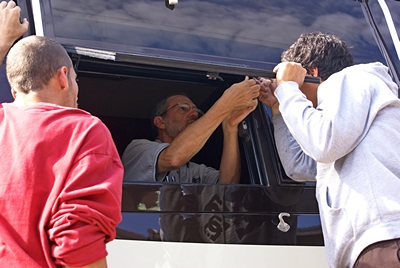
- Matt (L), Bruce (C, inside), and Kevin (R) line up the lift arm with the bracket hole on the window so Kevin can insert the pin.
-
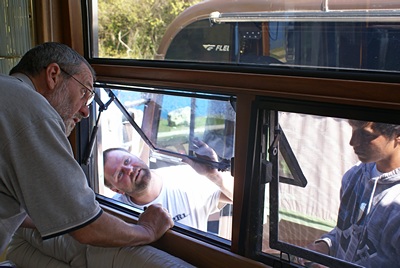
- Bruce (L, inside) and Joe (R) check the fit of the DS rear window.
-
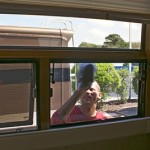
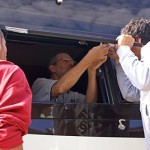
- Matt cleans the outside of the PS rear window after it is re-installed.