Having had a larger than normal meal later than usual last night, and gotten to bed later than usual, we did not get up this morning until a little after 8 AM. I made coffee but we were not hungry. By the time we finished our coffee it was approaching 10 AM but once we got to work in the bus we were on task until 7:30 PM with only a short lunch break at 1:15 PM.
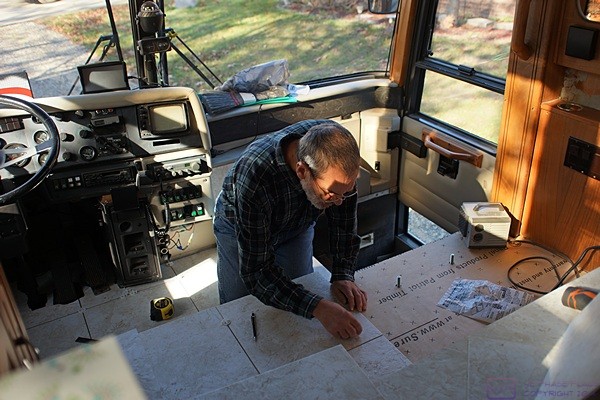
We cut and dry fit the tiles for the platform floor and walls. We had to take time out to use the oscillating saw to undercut the bottom edge of the face board on the passenger side front vertical wiring chase. With all the tile cut and fitted we determined the order in which we would install them. We started with the platform floor and the first six tiles of the landing. I also had to fashion some shims to make sure the tile in the driver-side rear corner of the platform would be installed in exactly the right location. This would be the first tile installed and if it was even slightly misaligned it would throw all of the other tiles off.
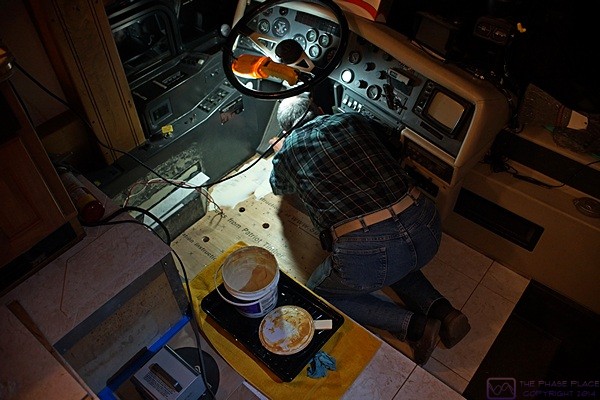
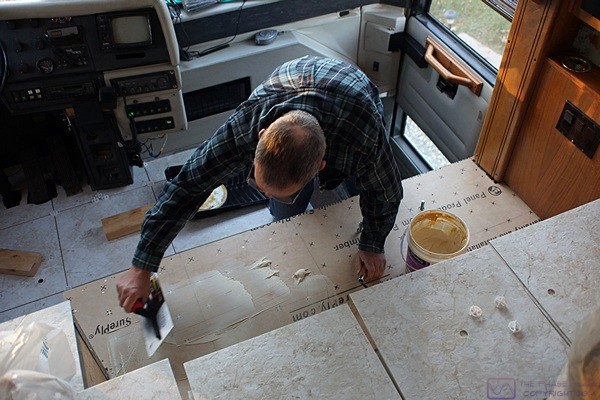
I marked the edges of all the tiles on the underlayment and then we pulled them up in the reverse order of installation. Linda prepared some soapy water to use for cleanup of the tools and tiles. I spread the Armstrong vinyl adhesive and Linda cleaned the trowels when I was done. We waited for it to cure to the point where we could set the tiles. Even with two heaters going in the front of the bus the adhesive took about 50 minutes to cure to where it would not transfer when touched. Once it reached that point we had roughly an hour to set the tiles but it only took about 20 minutes to install them. I used a large rubber mallet to help set them, pulled the spacers, wiped the edges with a wet paper towel, and then walked on them in lieu of using a 100 pound floor roller which would have been awkward at best to use on such a small area and not worth the time and expense to rent from The Home Depot in Howell.

Bruce installs intricately cut floor tiles in the cramped front of the driver’s area. (Photo by Linda.)
As soon as the first group of tiles was installed we pulled up the remainder of the floor tiles from the landing and driver area. Linda got some paper grocery bags and painter’s tape and masked off the platform floor along the back and side wall. I spread adhesive on all of those areas and then Linda once again cleaned the tools. Approximately 50 minutes from when I started spreading adhesive l started setting the tiles and about 20 minutes after that they were all installed. Once again I used a large rubber mallet to help set them, pulled the spacers, and wiped the edges with a wet paper towel. I walked on the floor tiles but had no way to further set the wall tiles.
We were done by 7:30 PM. Linda cleaned up the tools and water bucket while I closed up the bus. She started fixing diner and I got out of my work clothes and put on my robe. Dinner was a nice salad and an Amy’s Roasted Vegetable Pizza; vegan, of course. We finished the Organic Natural White wine from Frey, but we did not necessarily enjoy it.
Following dinner we relaxed in the living room for a while and I responded to a series of text messages from Kristine Gullen. I missed the SLAARC information net at 8 PM because it just slipped my mind. We were in bed by 10 PM and I watched Part 1 of the 2-part PBS American Experience program on Walt Disney while I finished this post.

