A gallery of photos of the auxiliary air compressor replacement project. Click thumbnail image to open. Maximum dimension is 400 pixels. Photos by Marian Hagan marked (MH).
-
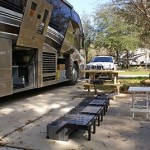
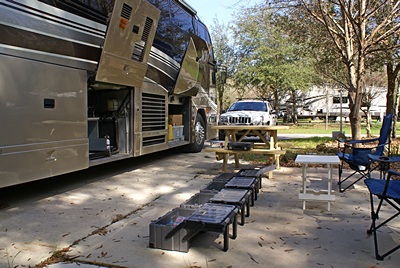
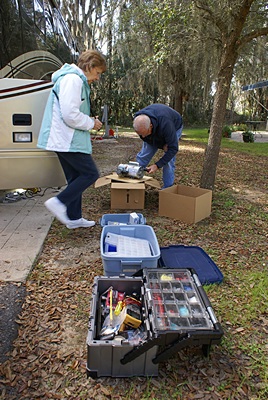
- The passenger side of the bus with the tool boxes out.
-
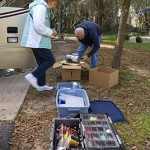
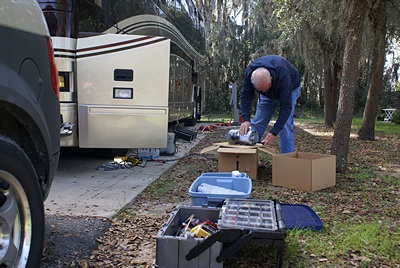
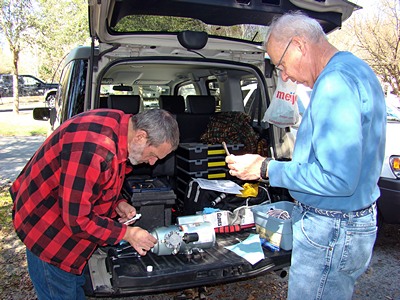
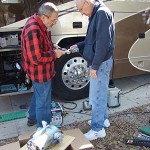
- Marian (L) and John (R) Hagan helping with the auxiliary air compressor project.
-
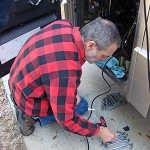
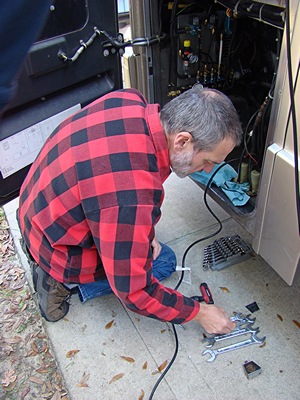
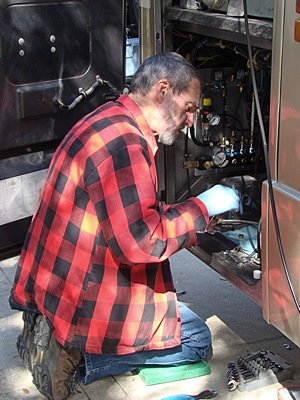
- Bruce working in the auxiliary air compressor bay (photo by MH).
-

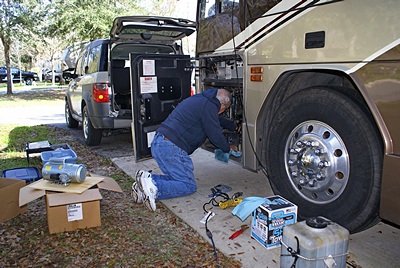
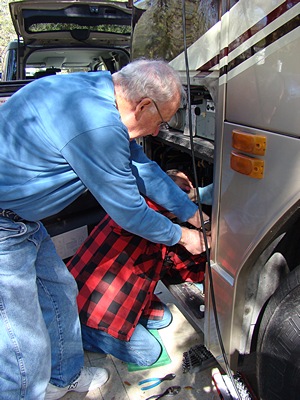
- John working in the front bay.
-
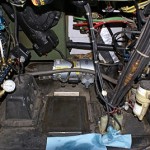
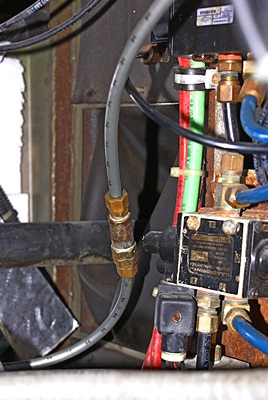
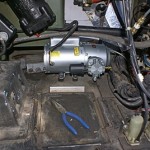
- The front bay with the windshield washer fluid tank removed. Old air compressor center rear.
-
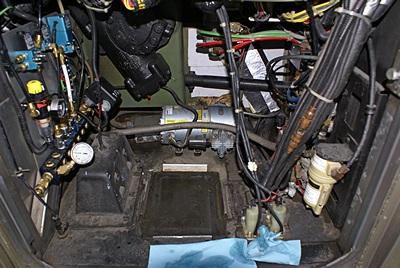
- The old air compressor lower left. Check valve in air line center right.
-
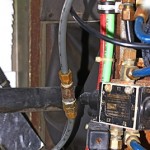
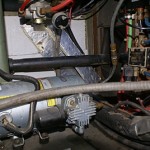
- The old leaking check valve. The unloaded mechanism is on the lower end.
-
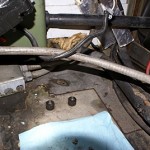
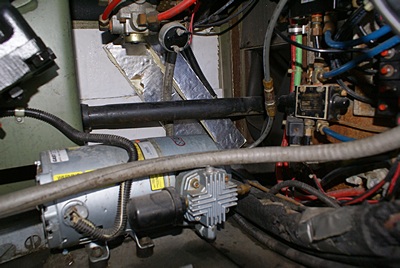
- Old air compressor removed. The two outboard rubber isolation mounts are visible (center).

-

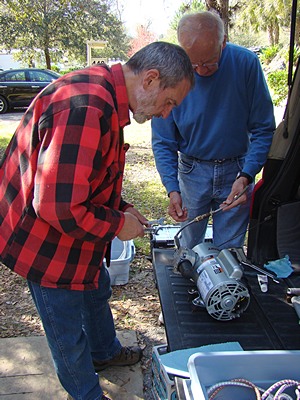
- John studying the new Gast air compressor as it came out of the box.
-

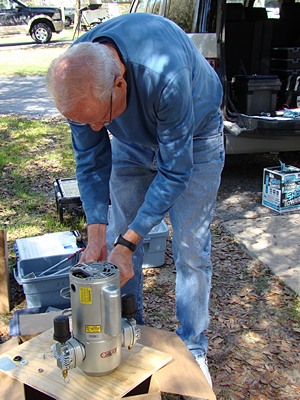
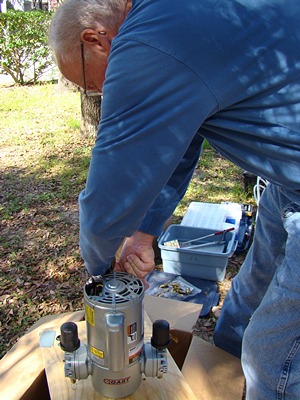
- John prepping the new air Gast air compressor.
-
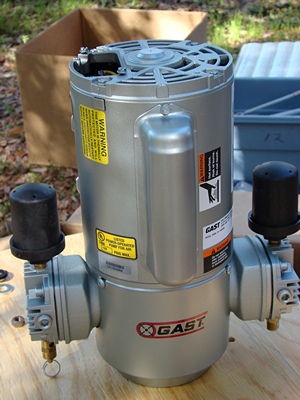
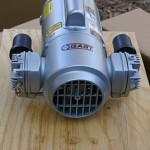
- The new Gast air compressor standing on end (photo by MH).
-
- The new Gast air compressor, top view.

-
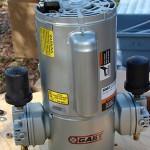
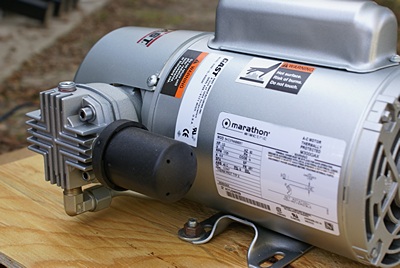
- The new Gast air compressor, air pump end.

-
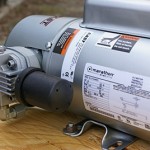
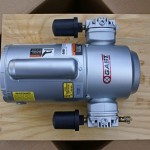
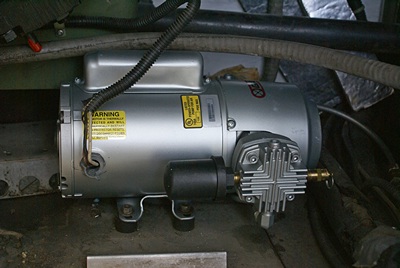
- The new Gast air compressor, side view showing one of the air filter housings and the labels (it was made by Marathon Electric).
-
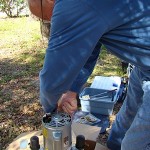
- John prepping the new Gast air compressor (photo by MH).
-
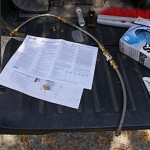
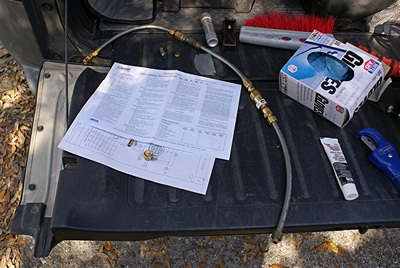
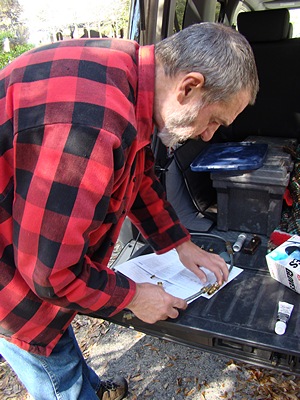
- The old air line and compressor instructions on the Honda Element tailgate.
-
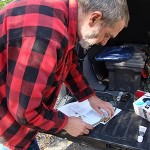
- Bruce using the Honda Element rear gate as a workbench (photo by MH).
-
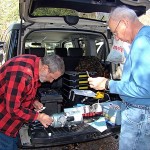
- Bruce (L) and John (R) working at the makeshift workbench (photo by MH).
-

- Bruce (L) and John (R) attaching the outlet fitting to the new compressor (photo by MH).
-

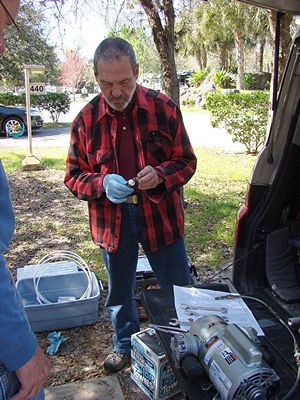
- Bruce applying PTFE pipe thread compound to a fitting.
-
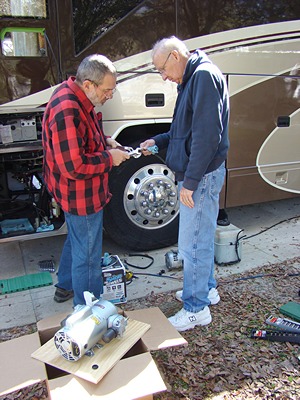
- Bruce (L) and John (R) working on a small part (photo by MH).
-
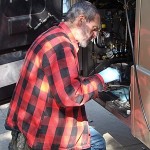
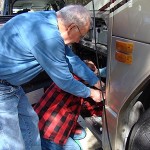
- Bruce attaching the air line to the T-fitting in the bay (photo by MH).
-
- Four hand were needed to hold fittings while they were tightened (photo by MH).
-
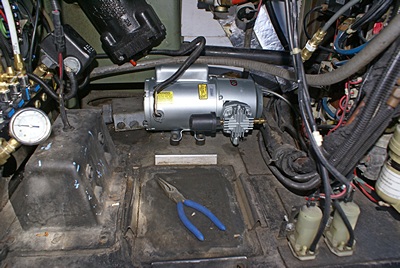
- The new Gast air compressor in position.
-

- The new compressor mounted in the bay.
-
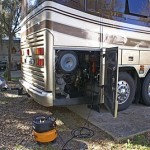
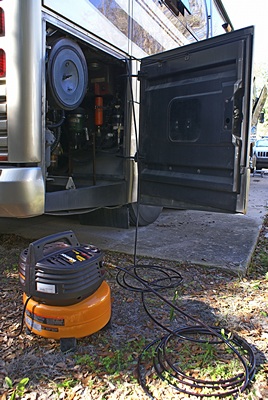
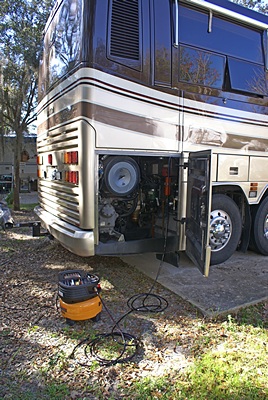
- Airing up the bus with John’s portable air compressor.
-
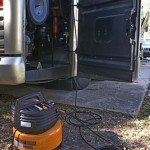
- John’s portable air compressor connected to the fill valve by the engine.